 Arduino演習Communication/Dimmer用スケッチ
Arduino演習Communication/Dimmer用スケッチは以下となります。
 // Dimmer - sends bytes over a serial port
 // by David A. Mellis
 //This example code is in the public domain.

 import processing.serial.*;//serialクラスをライブラリにロード
 Serial port;//送信及びシリアル通信プロトコルを使用してデータを受信するためのクラス。

 void setup() {
 size(256, 150);

 println("Available serial ports:");
 // if using Processing 2.1 or later, use Serial.printArray()
 //すべての利用可能なシリアルポートの一覧を取得します。
 //テキストウィンドウに情報を書き込むためのprintln()を使用します。
 println(Serial.list());
 // Uses the first port in this list (number 0).  Change this to
 // select the port corresponding to your Arduino board.  The last
 // parameter (e.g. 9600) is the speed of the communication.  It
 // has to correspond to the value passed to Serial.begin() in your
 // Arduino sketch.
 //利用可能なポートの中からArduinoに接続しているポートを設定します。
 port = new Serial(this, Serial.list()[4], 9600);

 // If you know the name of the port used by the Arduino board, you
 // can specify it directly like this.
 //port = new Serial(this, "COM10", 9600);
 }

 void draw() {
 // draw a gradient from black to white
 for (int i = 0; i < 256; i++) {
 stroke(i);//線の色を設定する
 line(i, 0, i, 150);//縦線を引く
 }

 // write the current X-position of the mouse to the serial port as
 // a single byte
 port.write(mouseX);//マウスのX位置を送信する
 }
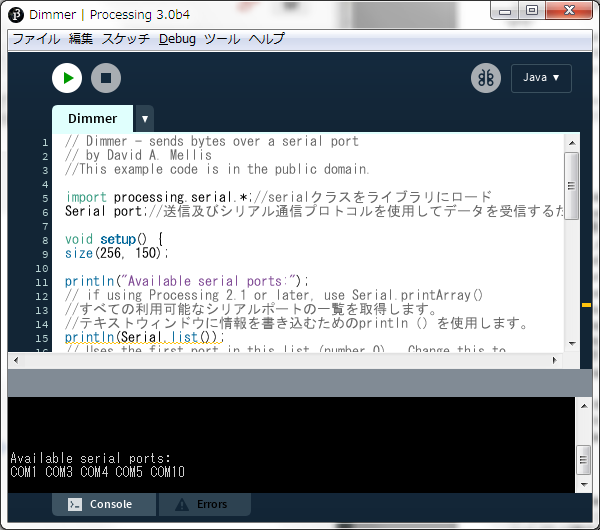
PArduino演習Communication/Dimmer用スケッチの実行(1)PArduino演習Communication/Dimmer用スケッチを実行するとコンソールに
Available serial ports:
COM1 COM3 COM4 COM5 COM10
と表示されます。
(2)Arduinoと接続のポートはいつもCOM10であり、port = new Serial(this, Serial.list()[4], 9600);とするとつながります。
(3)接続はArduinoボードのTXとTRのLEDで判断できます。
(4)以下の実行ウインドウが表示されます。
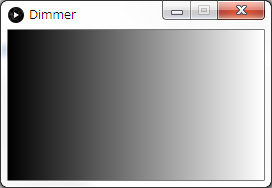
(5)実行ウインドウ上でマウスを動かすとX方向の位置に対応した値が送信されます。
(6)送信した値に応じてArduinoボードに接続したLEDの明るさが変化します。
Arduino演習Communication/Dimmer用スケッチまとめ(1)Processing(プロセシング)開発環境では、簡潔な記述でシリアル通信を行うことができる。
(2)反面、リストボックスのようなGUI機能がない。
(3)このような場合、スケッチを直接書き換えるのが一番簡単である。
(4)演習のような、使用頻度の少ないプログラムはProcessing(プロセシング)開発環境を使用すると便利である。
 3章:Arduino演習Communication/Graph用スケッチに行く。