 Arduino演習Communication/SerialCallResponse用スケッチ
Arduino演習Communication/SerialCallResponse用スケッチは以下となります。
//SerialCallResponse
// This example code is in the public domain.
import processing.serial.*;

int bgcolor;           // Background color
int fgcolor;           // Fill color
Serial myPort;                       // The serial port
int[] serialInArray = new int[3];    // Where we'll put what we receive
int serialCount = 0;                 // A count of how many bytes we receive
int xpos, ypos;                 // Starting position of the ball
boolean firstContact = false;        // Whether we've heard from the microcontroller

void setup() {
  size(256, 256);  // Stage size
  noStroke();      // No border on the next thing drawn

  // Set the starting position of the ball (middle of the stage)
  xpos = width/2;
  ypos = height/2;

  // Print a list of the serial ports for debugging purposes
  // if using Processing 2.1 or later, use Serial.printArray()
  println(Serial.list());

  // I know that the first port in the serial list on my mac
  // is always my  FTDI adaptor, so I open Serial.list()[0].
  // On Windows machines, this generally opens COM1.
  // Open whatever port is the one you're using.
  String portName = Serial.list()[4];
  myPort = new Serial(this, portName, 9600);
}

void draw() {
  background(bgcolor);
  fill(fgcolor);
  // Draw the shape
  ellipse(xpos, ypos, 20, 20);
}

void serialEvent(Serial myPort) {
  // read a byte from the serial port:
  int inByte = myPort.read();
  // if this is the first byte received, and it's an A,
  // clear the serial buffer and note that you've
  // had first contact from the microcontroller.
  // Otherwise, add the incoming byte to the array:
  if (firstContact == false) {
    if (inByte == 'A') {
      myPort.clear();          // clear the serial port buffer
      firstContact = true;     // you've had first contact from the microcontroller
      myPort.write('A');       // ask for more
    }
  }
  else {
    // Add the latest byte from the serial port to array:
    serialInArray[serialCount] = inByte;
    serialCount++;

    // If we have 3 bytes:
    if (serialCount > 2 ) {
      xpos = serialInArray[0];
      ypos = serialInArray[1];
      fgcolor = serialInArray[2];

      // print the values (for debugging purposes only):
      println(xpos + "\t" + ypos + "\t" + fgcolor);

      // Send a capital A to request new sensor readings:
      myPort.write('A');
      // Reset serialCount:
      serialCount = 0;
    }
  }
}
PArduino演習Communication/SerialCallResponse用スケッチの実行(1)PArduino演習Communication/SerialCallResponse用スケッチを実行するとコンソールに
COM1 COM3 COM4 COM5 COM10
と表示されます。
(2)Arduinoと接続のポートはいつもCOM10であり、port = new Serial(this, Serial.list()[4], 9600);とするとつながります。
(3)コンソールには、X位置とY位置とスイッチのON/OFFが表示されます。
(4)スイッチのONのときコンソール画面は以下のようになります。
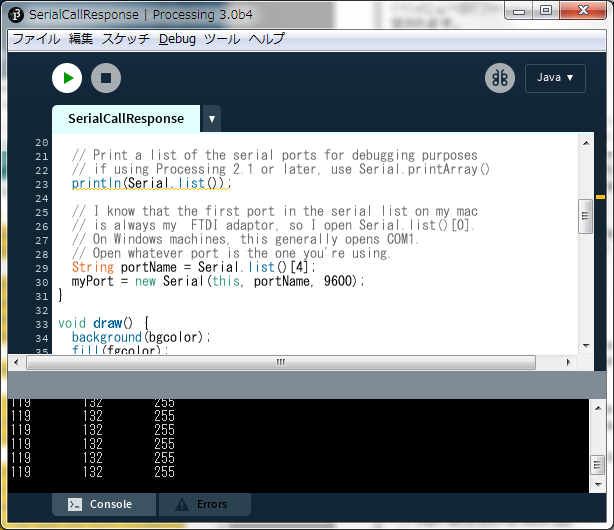
(5)スイッチがONの時の実行画面は以下のようになります。
 Arduino演習Communication/SerialCallResponse用スケッチまとめ
(1)トラブルなく、動作も安定しています。
(2)起動時のみArduinoからコード'A'が送信されます。
(3)パソコン側では、'A'を受信したら受信バッファを初期化します。
(4)パソコン側で受信可能となったら、コード'A'を送信します。
(5)Arduino側でコード'A'を受信したら、X値、Y値、ON/OFFのデータを送信します。
(6)こうすると受信処理が確実に実行できそうです。
 7章:Arduino演習Communication/SerialCallResponseASCII用スケッチに行く。