 練習用EXCELファイルの作成
(1)EXCEL2019を起動します。
(2)新規_空白のブックを選択します。
(3)ファイル名「16章.xlsm」で保存します。
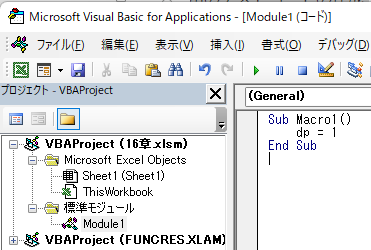
(4)開発タブをクリックして「Visual Basic」をクリックします。
(5)「挿入」_「標準モジュール」を選択します。
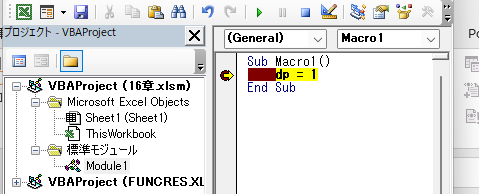
(6)以下のコードを貼付けます。
Sub Macro1()
    dp = 1
End Sub
 ActiveXコマンドボタンの挿入
(1)ワークシートの挿入をクリックします。
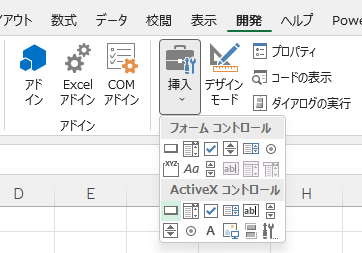
(2)ActiveXのコマンドボタンをクリックして、ワークシート上にコマンドボタンを挿入します。
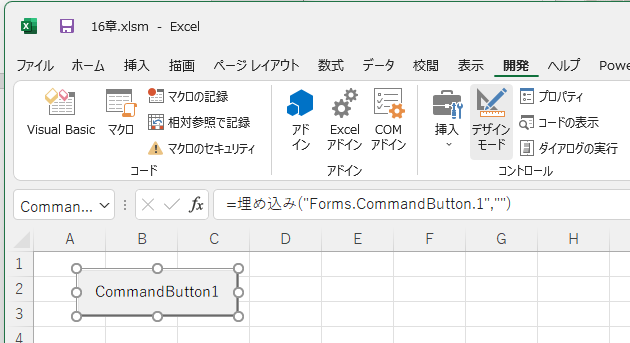
(3)Visual Basicをクリックして、VBAエディタを表示します。
(4)VBAエディタの「Microsoft Excel Object」_「Sheet1(Sheet1)」をダブルクリックします。
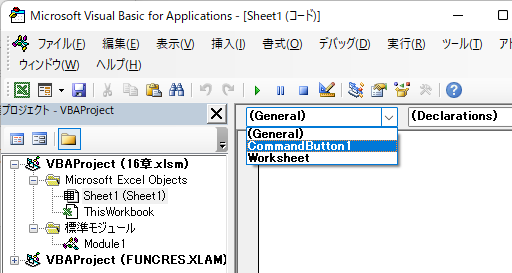
(5)CommandButton1を選択します。
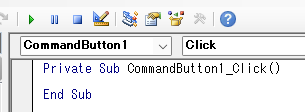
(6)コードを以下のように修正します。
Private Sub CommandButton1_Click()
    Macro1
End Sub
(7)上書き保存して、終了後、再度オープンします。動作試験(1)「標準モジュール」_「Module1」をダブルクリックします。
(2)dp=1の行をクリックします。
(3)「デバッグ」_「ブレークポイントの設定/解除」を選択します。

(4)ワークシートの「CommandButton1」をクリックします。
(5)ブレークポイントの設定行で停止します。
(6)Macro1が実行されたことが確認できました。
(7)継続ボタンを押すと終了します。
ワークシートの「CommandButton1」の表示変更(1)「デザインモード」で「CommandButton1」をクリックして、「プロパティ」をクリックすると 「CommandButton1」のプロパティが表示されます。
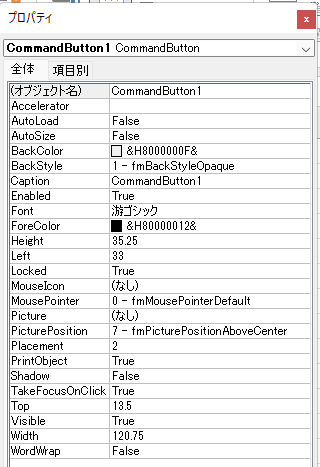
(2)Captionの値を「実行」に変更すると表示が実行となります。 (3)ここでは、別な方法で表示を変更します。
(4)VBAエディタの「Microsoft Excel Object」_「ThisWorkbook」をダブルクリックします。
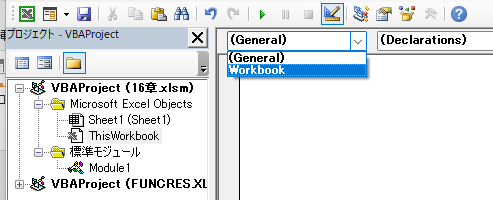
(5) Workbookを選択します。

(6)コードを以下のように修正します。
Private Sub Workbook_Open()
    Sheet1.CommandButton1.Caption = "実行"
End Sub
(7)EXCELファイルを上書き保存して、終了します。(8)EXCELファイルを開きます。
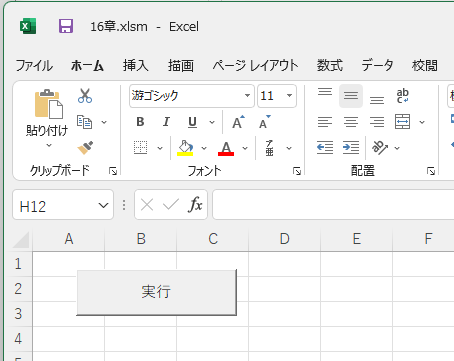
(9)CommandButton1の表示が変更されました。
(10)デバッグ機能を使用して、「実行」ボタンを押すとMacro1が実行されることが確認できます。
セルの枠線の消去(1)ワークシートのセルの枠線が見苦しいので消去します。
(2)表示タグをクリックします。
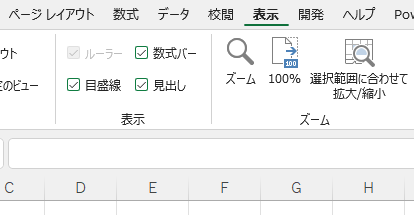
(3)目盛線のチェックをはずします。
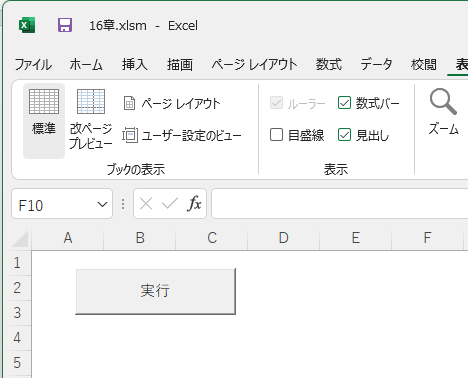
(4)ワークシートのセルの枠線が消えました。
(5)上書き保存をして、終了します。
「16章.xlsm」ファイルのダウンロード「16章.xlsx」ファイルは、以下からダウンロードできます。
ダウンロード後は解凍してから使用してください。
 「16章.xlsm」ファイルをダウンロードする。
解凍すると「16章.xlsm」ファイルがあります。
 17章:ワークシートにActiveXのラベルとテキストボックスを挿入